
IMU Kit Quickstart
Use the IMU Kit to capture flange acceleration and angular velocity alongside your robot data. Before starting, install and configure your Reforge Interface.
1. Check Bluetooth (BLE)
Put the kit in pairing mode: press and hold its button until the light flashes blue. Its default name is muse_v3; you can change it with the device-name command.
Run a BLE diagnostic:
bashpython -m reforge_core.imu.tools.get_imu_stats --name muse_v3
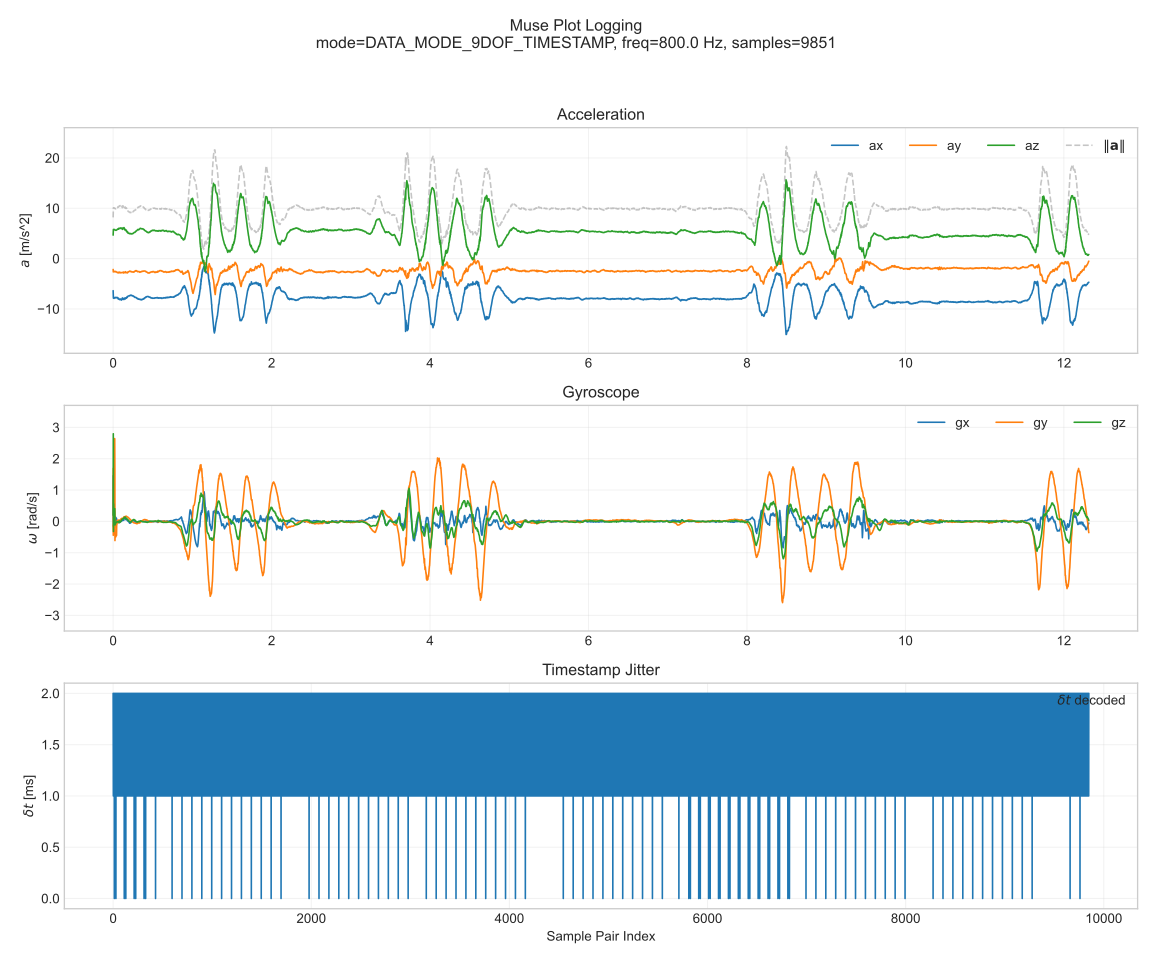
Then open a live plot and move the kit with the following command:
bashpython -m reforge_core.imu.tools.plot_acquisition stream \
  --name muse_v3 --frequency 200
You should see acceleration and gyroscope signals change as you move the kit.
2. Check USB
Connect the kit over USB, find its port, and check its health:
bashpython -m reforge_core.imu.tools.usb_diagnostics ports
python -m reforge_core.imu.tools.usb_diagnostics health --port <port>
Run the same live test over USB:
bashpython -m reforge_core.imu.tools.plot_acquisition stream \
  --usb --port <port> --frequency 200
3. Mount and use it with your robot
After both checks pass, mount the kit rigidly on the robot flange. Use USB and 200 Hz streaming for the normal robot workflow. See RobotInterface Integration.
For commands beyond this first check, see the CLI Reference. If a check fails, see Troubleshooting.